
All kinds of bonuses, options, jackpot games and exciting tournaments are available to users registered at the Mozzart Bet Online Casino Malaysia. The activities of Mozzart Bet are licensed, which testifies to the safety and reliability of the gaming process. The resource gives the impression of a solid institution, so you should look into the Mozzart Bet casino and try your hand at playing slot machines.
Currently, there are a huge number of virtual resources offering entertainment services, so it is necessary to study the offers of modern clubs in order to choose a loyal operator. Take a closer look at the Mozzart Bet Gaming Club, which offers an impressive range of games, lucrative bonuses and quality technical support. The start of the operation of the virtual casino Mozzart Bet falls on 2016, however, despite its short existence, the gaming resource has acquired an impressive number of fans, thanks to a significant range of slot machines presented by the Mozzart Bet portfolio and high-quality service.
First look of the Mozzart Bet
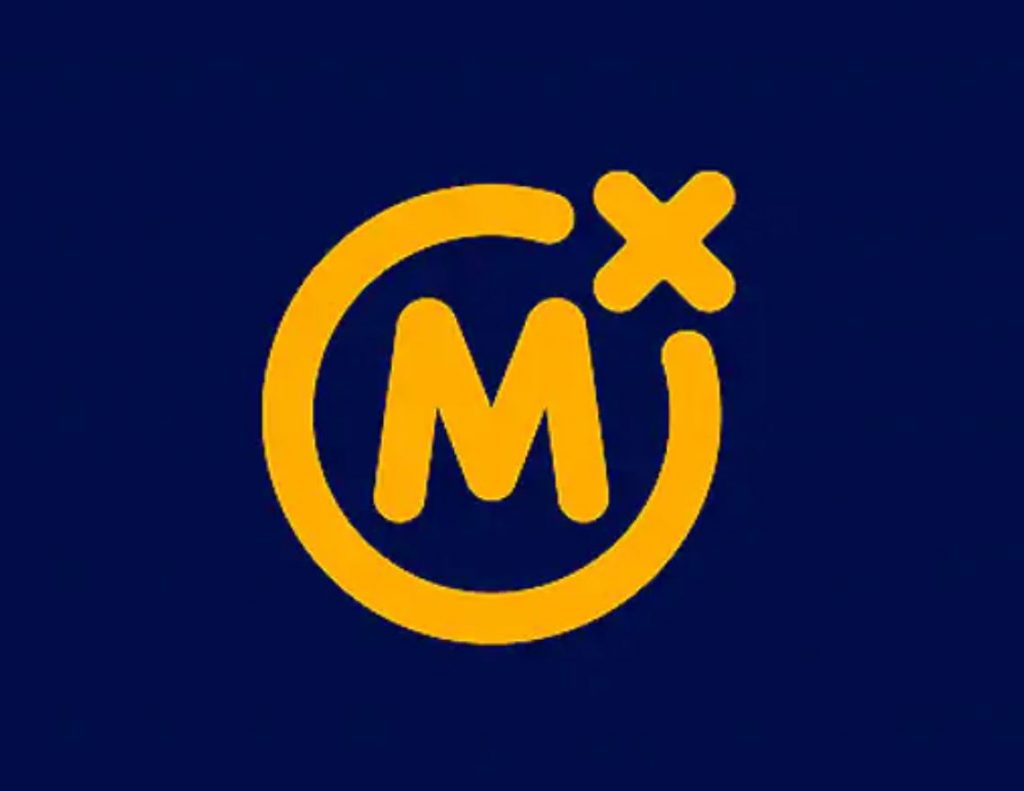
The game resource is remarkably designed: the contrasting shades of the interface are perfectly perceived by visitors to the official website, whose attention is focused on bright game icons and tempting banners. The developers of Mozzart Bet use a spectacular logo – the combination of dark blue and yellow is striking, and the graceful symbolism of card denominations, made in the shape of wriggling ivy, hints that the guest has entered a real kingdom of excitement.
All kinds of bonuses, options, jackpot games and exciting tournaments are available to users registered at the Mozzart Bet Online Casino Malaysia. The activities of Mozzart Bet are licensed, which testifies to the safety and reliability of the gaming process. The resource gives the impression of a solid institution, so you should look into the Mozzart Bet casino and try your hand at playing slot machines.
Currently, there are a huge number of virtual resources offering entertainment services, so it is necessary to study the offers of modern clubs in order to choose a loyal operator. Take a closer look at the Mozzart Bet Gaming Club, which offers an impressive range of games, lucrative bonuses and quality technical support. The start of the operation of the virtual Online Casino Malaysia Mozzart Bet falls on 2016, however, despite its short existence, the gaming resource has acquired an impressive number of fans, thanks to a significant range of slot machines presented by the Mozzart Bet portfolio and high-quality service.
Appearance
The clear and accessible structure of the Mozzart Bet website allows you to quickly navigate and find the necessary information and games. Even a novice user can figure out navigation algorithms: the content of the site is divided into sections, which is organically perceived by potential customers. The gaming portal Mozzart Bet makes a favorable impression – the original design style is well received by gambling fans.
Registration at the Mozzart Bet Online Casino Malaysia
To become a real client of the virtual Online Casino Malaysia Mozzart Bet, you should register. This will expand the possibilities of a potential client of the institution, allowing him to receive bonuses, participate in promotions, sweepstakes. The process of creating an account is simple: the player needs to click on the appropriate button, and when the electronic profile opens, enter the requested information there. You should enter reliable contact and personal data, which will subsequently allow you to go through the verification procedure without any problems. Registration will allow you to instantly start playing for real money – this is what most visitors count on. You can go to the page of the virtual site and register using the partner social networks presented on the institution’s page. Some online casino in Malaysia provide anonymous accounts for better players protection (source: https://ric-zai-inc.com)
The assortment of slot machines of the Mozzart Bet Online Casino Malaysia
Mozzart Bet Online Casino Malaysia offers games from well-known manufacturers such as NetEnt, 1×2 Gaming, Amaya, Microgaming, NextGen. The user has access to a large number of online slots, which are distinguished by simple control algorithms, the presence of additional mini-rounds, special symbols, free spins. Connoisseurs of card entertainment will enjoy a huge variety of versions of blackjack and video poker. Unpredictable roulette is available to fans of the classic gambling game, the success of which depends solely on luck. Alternative entertainment is widely represented: horse racing simulators are available; virtual entertainment offering a cumulative jackpot.
The gaming resource offers interesting tournaments, the conditions of which should be familiarized with by visiting a special section. It doesn’t take a lot of time to find the required slot machine, because the site has a sorting option. The player has access to a choice of slot machines according to the following criteria: provider, level of popularity of the game, etc. There is an opportunity to sort games alphabetically or use a special search engine that allows you to find the required model of the slot machine by name.
For beginners, entertainment in demo mode is perfect, offering to test games of interest without real bets – on virtual credits in order to study the principles of management. The Live-casino section is presented – players have access to entertainment with a real dealer. It is worth noting that the Mozzart Bet resource offers a lot of interactive entertainment that will appeal to connoisseurs of gambling.
Bonuses and gifts
To enjoy your time in the virtual casino Mozzart Bet, you should pay attention to the bonus rewards offered by the management of the institution. These are all kinds of promotions, drawings of valuable prizes, various bonuses. The welcome bonus package consists of three stages; promotion designed for newbies who made a deposit for the first time. The total amount of gifts from the Online Casino Malaysia reaches 7,296 Malaysian ringgits. On the first deposit, the player receives a 100% refund of the funds deposited on the balance; the bonus amount does not exceed 1,459 Malaysian ringgits. The next deposit will mark the receipt of a 25% bonus, the total amount of which reaches 3,891 Malaysian ringgits.
For the third deposit, the gamer receives a 50% incentive, the amount of which does not exceed 1,945 Malaysian ringgits. Mozzart Bet Casino also offers the player free spins on certain slot machines. A competent loyalty program allows you to earn computer points for each replenishment of the game balance. Subsequently, they are converted into in-game coins at the rate of the Mozzart Bet Casino. Regular customers of the gambling establishment are eventually able to obtain the status of VIP-players. This means that special surprises are intended for them, personal manager; this category of players claims to accelerate the withdrawal of winning funds. A special section of the Mozzart Bet casino allows you to familiarize yourself with all types of bonus rewards available in the menu.
Convenience and possibilities of Online Casino Malaysia games
In order to launch slot machines for real bets and receive real prizes, you need to top up your balance. The game currency is the Malaysian ringgits , US dollar, euro, British pound sterling. The game resource supports numerous deposit methods that are popular and available to users from different countries. These are electronic payment systems and wallets Neteller, Skrill; debit cards Visa, MasterCard.
A special section of Mozzart Bet will familiarize the user in detail with the options for replenishing the account. The slot machines presented in the casino’s portfolio are available in the browser version, which means that the user does not have to download anything, which allows him to evaluate a large number of games in a short time. Age requirements allow only an adult user to play for money. The gameplay is safe; slot machine random number generators are tested by leading auditing companies. The content from the Mozzart Bet menu is adapted for use on mobile gadgets.
Additional information
If a customer has any problems with registration or depositing an account, please contact the Mozzart Bet technical support service. A section of questions and answers is presented, thanks to which the user is able to solve the problem on his own, having read the advice of experienced consultants. Around-the-clock communication with the operators of the virtual resource is available; the contact section contains the phone number and email address of the Mozzart Bet technical support.